Monday, May 26, 2014

Color issues solved!

A quick update on the issues with auto white balance in my previous post. The more I thought about it, the more I suspected there was a problem with the camera module itself. I drove over to my local MicroCenter and they exchanged it for me. Gotta love that local advantage! I tested it with default settings out on the porch again to replicate the conditions, and my hunch was right. There was likely some manufacturing defect with the camera module -- the new one looks normal:
No more alien worlds!
Now, I can skip all the headache of conversions.

Soccer time lapse / AWB issues

First off, I decided to do a time lapse during my daughter Lindsay's soccer game. I have noticed that while indoors, the camera module with default settings in raspistill does a decent job with auto white balance, but outdoors, it is a mess. Greens are non-existant...

raspicam with default settings
-awb sun (auto white balance = sun)
-awb sun -sa 20 (saturation = 20)
-awb sun -sa 70 -co 50 (contrast = 50)
-awb sun -sa 70 -co 50 -mm matrix (metering mode = matrix)

Obviously, I have some more trial and error to do. It's a shame that the camera doesn't cope well with sunny conditions. Anyhow, here is the time lapse of the soccer game without any correction:


Thursday, May 22, 2014

Time Lapse Test

After first testing the camera, it didn't take long for me to hook the Pi up to a battery power (I'm using a solar-powered USB phone charger) and test it outdoors. First, I found a suitable "case" to house the Pi & camera temporarily.

This Gatorade packet canister will work as a case for now
I taped the camera module to a piece of plastic with a small hole cutout and slid a used spool from a roll of Gorilla tape to hold the camera in place (and it makes a nice lens hood too). I routed the USB cable out the other end to the battery pack/charger.
Powering up the Pi in a makeshift case from battery
After powering it up I ran a quick test by ssh-ing to the host and commanding series of pictures. I wrote a very simple shell script to do this, and it works, but there is a built-in option within the raspistill program for timelapse. Having verified that this works, it's time to set it outdoors and make a short time-lapse.
Front porch time-lapse test in progress
Just a random thought about using this in various places. It could be easily mistake for an explosive device, so keep that in mind if you do something like this to prevent a panic.

Wednesday, May 21, 2014

First Light

First light is a term they use in astronomy when a telescope is first used (to gather light). I'm borrowing that term for the first use of my Pi cam. Yesterday, I set up my shared ssh connection so I'm not remotely logging in with my mac book pro now. I've disconnected the keyboard, mouse, and monitor (hdmi). I now have just the USB Wi-Fi adapter occupying the sole onboard USB port.

After powering down, I installed the camera's ribbon cable (which is very delicate) and enabled the camera in raspi-config as the documentation directs. By default, when you enable the camera, the system will allocate 128MB of memory to GPU for the camera. The Raspbian OS comes with 3 programs for operating the camera: raspistill (for still images), raspivid (for videos),  and raspistillyuv (for still images, but without encoding). My first test failed because I didn't have the ribbon cable seated completely. Once I re-seated it and powered back up, I commanded a still and video image and copied them to my mac for convenient viewing. Here is the still image:
First still from the Raspbery Pi 5MP camera module attached to Model A
The video is h264 encoded and must be converted to as suitable format like mp4, so I installed gpac using apt-get on the Pi and converted it to .mp4. In it's temporary state, the Pi is sandwiched between some foam packing to protected it and give the camera a temporary place to rest.
Pi sandwich
With the small size of this package, I'm thinking of even more ways to use it...

Tuesday, May 20, 2014

Ground Rules

Ground Rules

For these 3 projects, my intent is to reuse the hardware in different configurations and build things as opposed to buying wherever possible. I don't have a set budget, and I will use things on-hand when it makes sense. This is not intended to be an instructable. I will try to do things as safely as possible and try to point out risks.

Speaking of risks, the first one is that the first project - lofting a pi for aerial photography might be a disaster and jeopardize the subsequent projects. I plan to test out the air-lift system with my old cell phone - a Palm Pre, that takes good video.


Adding Camera Module

All 3 of these projects make use of the pi camera, so I talk a little about it here. The camera is a 5 megapixel 1/4" CMOS sensor with fixed focus made by Omnivision, mounted to a small circuit board, and attaches to the pi (model A or B) via an included ribbon cable. It can produce stills up 2592 x 1944. It weighs just 3g and the dimensions of the module are 25mm x 20mm x 9mm (.98" x .79" x .35") - it is small!


Estimating Power Needs

I mentioned in my previous post that the Raspberry Pi Model A requires 1/3 the power of its sibling, but I did not quantify. The model uses about 0.65W per hour. But that is with no camera, no Wi-Fi, no motors or anything else. Every additional capability means considering power management.

For Sky Pi, I need to keep everything light, so it is the light-weight platform. For Pi Lapse, long duration use is needed, to it is my endurance athlete. Birdie Pi, is sort of the all-rounder and benefits from the design of the other two.

For now, I need to determine how much power the camera will draw when operating. According to the Raspberry Pi FAQ it uses 250mA. It runs off of 2.8V.

Monday, May 19, 2014

Project line up (aka: the grand plan)

It's now been 3 months since I got my first Raspberry Pi, a model B, which is serving as a weather server (running Weewx) and connected to my Davis Vantage Vue weather station. Anyhow, that is kind of mundane, and I'm ready to move onto new and more exciting projects.

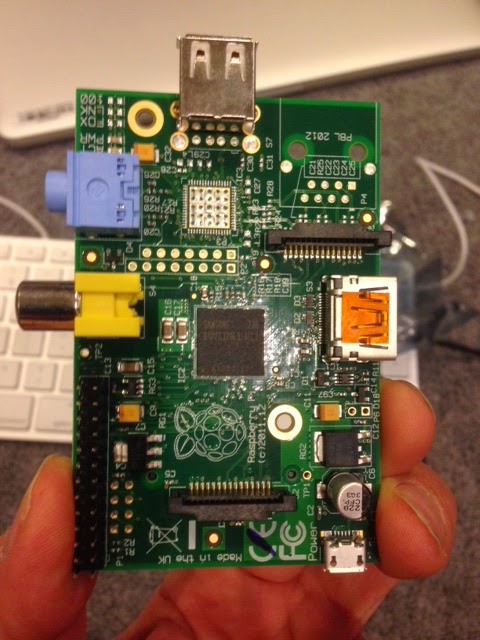
Enter, model A. There are 3 key differences between the model A and B. The model A is essentially a model B, minus the ethernet port, minus the second USB port, and half the RAM (256 MB). So what's the upside? It uses 1/3 the electrical power, making this perfect for off-grid applications.

Project Pi

I'd like to build a platform to use for aerial photography, using the pi. My motivation is to get a bird's eye view of soccer tournaments, a mass bicycle ride start (Pelotonia), and other vistas at an altitude of 150' to 300'. I haven't yet decided on balloons or kites (balloons are good for zero to very little wind, whereas kites are designed for various wind speeds). In any case, I'll need to make a Picavet cross to keep the camera on a level plane.

I'd like to see if I can create an ad-hoc network using a laptop computer and wireless access point to connect wirelessly to the pi as it is in the air. Maybe I can control it in realtime and control the panning and picture taking. After getting some looking down shots, I'd like to do some panoramas. I'll get to calculate weight lifting ability of helium balloons for one thing. Panning can be controlled by servos or stepper motors.

Project Pi Lapse

For this endeavor, I want to build a platform for long duration, unattended time-lapse photography. We are planning a family trip out to the Durango, CO area this July, and would like to take advantage of the remote location to make some special memories. 

This project will involve solar power, power management (scheduled off time via timer), and some script writing. Ultimately, this project could evolve into a much longer-term unattended operation. The power management could allow it to run for a year for a certain number of hours per day.

Project Birdy Pi

Lastly, I want to adapt the pi to function as a video system based on motion in a bird house. I'll re-use the solar panel from the Pi Lapse project and see if it is possible to detect motion.

First Steps

I bought a model A pi and pi camera at Microcenter. Because the model A has no ethernet port, I bought a Wi-Fi usb dongle and powered USB hub.
The powered USB hub makes it possible to use the keyboard, mouse, and Wi-Fi dongle off the single USB port until it can be accessed remotely.
I installed the NOOB (new out of box distro) and updated/upgraded apt-get. I used a 32 GB SDHC card because of the large storage capacity I'll need for Pi Lapse (perhaps 4 GB of pictures per day from the 5 megapixel camera at 20 second intervals).